Friday, 5 October 2012

Lifting and moving

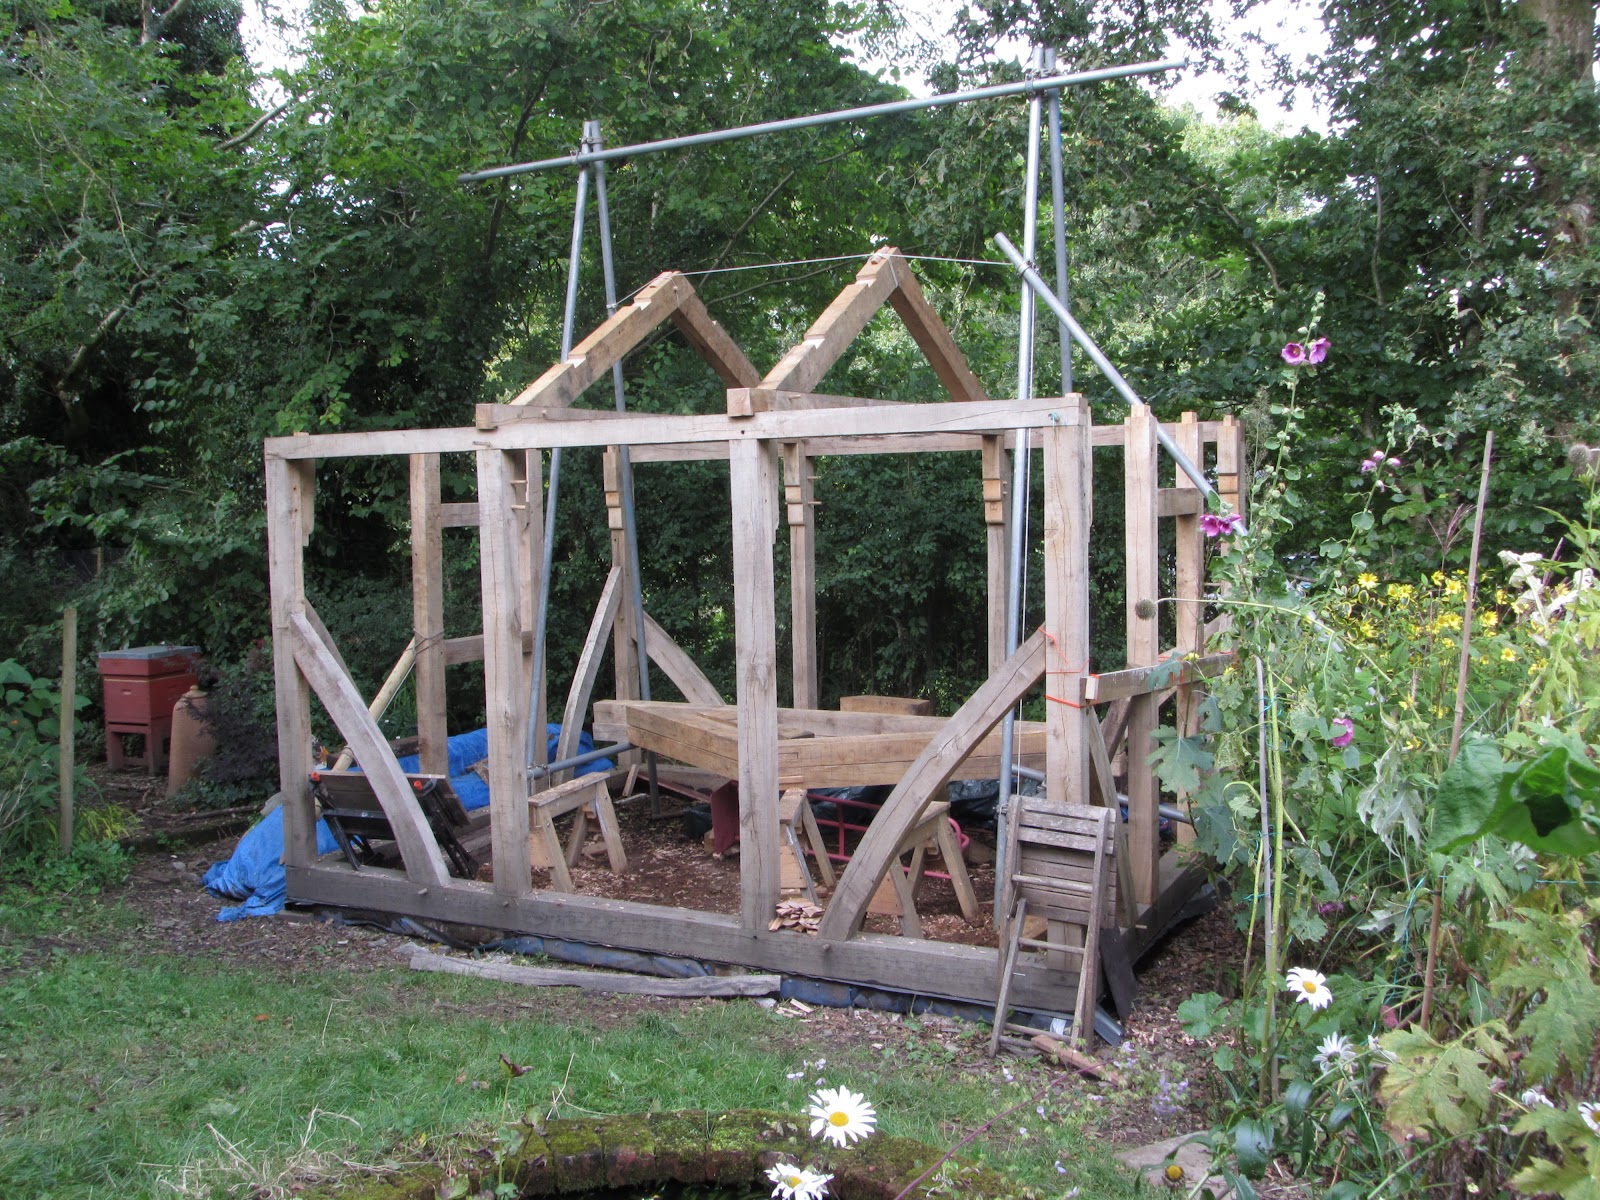
The final roof frame in position
Quite an occasion yesterday - after a small amount of woodwork the last roof frame was lifted into position. The rest of the day was spent moving scaffolding and then the timber for the four purlins from the storage space in the garden to the shed. These are the last four heavy timbers that I will have to move. Not a great deal of work needs to be done to prepare these - just cut to length and then four cut-outs on each one to sit over the roof frames.

Wall and roof frames with scaffolding
positioned to hoist purlins

Wednesday, 3 October 2012

Peg making


Rectangular blanks
Oak log with Froe
Cutting rectangular blanks
   
Cutting square blanks
 
Square blanks

Shaping pegs from
square blanks


Shaping pegs from
square blanks
Testing the diameter of
the peg
Finished pegs


I managed to work for a few hours on the shed this morning (before the rain started) and now there is only about 30 minutes work and the final end frame will be complete. Still for once I don't mind it raining as I have a lot of pegs to make. I have been making pegs throughout the construction of the shed - usually when the weather is not so good. However, I still need to make a lot and before I can lift the final frame I need to peg the joints to ensure it is secure.

I make the pegs using a Froe (to cut the square blanks) and a draw knife to shape the pegs from the blanks. I hold the timber in my Workmate (in a rather non-traditional way) when shaping the pegs.


Tuesday, 2 October 2012

Fitting the last end frame

Cutting the last mortice
All the roof frames are now virtually finished and the first end roof frame is now in place. I was expecting it to be rather difficult to lift and position the end frames as they have additional braces and therefore slightly heavier than the two internal frames. The roof frame was lifted on the outside of the building with the pulleys positioned so the frame hung over the tenons - some manoeuvring was required but the process worked well. 

There is a small amount of work to finish on the final end frame so hopefully it will not be too long before this is also in place (weather permitting).


Lifting the frame into position
Three frames now in position

Tuesday, 25 September 2012

Fitting the second roof frame

The weather forecast was for rain this afternoon so I was expecting to work most of the day in the garage. In fact there were spells of sunshine (despite quite a lot of cloud) and only a very few spots of rain. Consequently I was able to work outside all day which has enable me to finish the second middle roof frame and fit to the tie bar. 


The two centre roof frames in position

Saturday, 22 September 2012

Fitting the first roof frame.

A week of glorious weather has enabled progress to be made and the first roof frame is now fitted.

One of the challenges with building the shed has been the weight of the timber and manoeuvring beams and frames into position. For some time I have been thinking about getting the roof frames up onto the wall plates and whether this is something I could manage on my own. The height of the scaffolding is just clear of the roof apex and because I am using two double pulleys to increase the mechanical advantage the working height is very restricted. 

I calculated that if I attached the pulley to the tie beam (and fixed a loop to the top of the frame to prevent it tipping as it was lifted) I may just be able to get the frame into position.

I finished one of the central roof frames today and, as the inside frames are slightly lighter than the end frames I thought this was a good opportunity to see if I could get the frame up onto the wall plates and positioned on the tenons.
The frame pegged and ropes attached ready to be lifted into position


The frame lifted on to the tenons

The first roof frame in position
I have one end frame to finish off (two short braces to be cut and fitted) and one more central frame to make and the roof will be ready to fit the four purlins.

Monday, 17 September 2012

Finishing the First Roof Frame

The first roof frame is now completed this will be used as a template for the other three frames. The two central frames may not require the additional braces - which will make the construction of those a little quicker.
The first A frame completed
Quite good progress today with two more of the roof trusses cut to length and the top  tenon cut. Hopefully the weather will stay dry for tomorrow.

Wednesday, 5 September 2012

Starting the roof frames

With wet weather, a week and half holiday and then an injured back (not whilst working on the shed) Progress has been slow. However, September is now here and the weather is glorious so work has at last begun on the roof frames. 
8 tenons cut for the roof frames

So far I have cut the tenons for the base fixing of the frames and cut two mortices on one of the tie bars. The next job was to mark the top of the timbers for length and this was slightly difficult as I was not able to lay the frame out horizontally. I worked around this with the use of pulleys clamps and wall posts. So I am now ready to cut the first two beams to length and cut the joint for the top. This will then be used as a template for the other three frames.
Positioning the A frame to mark the length
of the frame timbers